When you are building a new wooden deck, furniture or a panel on your wall, you want it to be long-lasting and beautiful. You can certainly use various types of chemical finishes on untreated wood, which will help preserve the wooden item for a prolonged period of time and stain or paint to enhance the visual appeal of the wooden item.
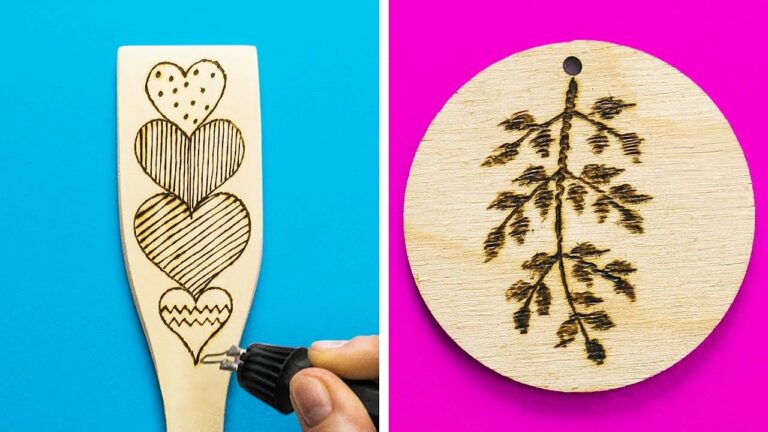
Though these are prevalent methods of preserving and making the team visually appealing, applying chemical finishes and stains is time-consuming and needs to be done separately. On the other hand, the burnt wood technique is much easier and can be done by any individual who understands wood burning and knows how to handle a blow torch.
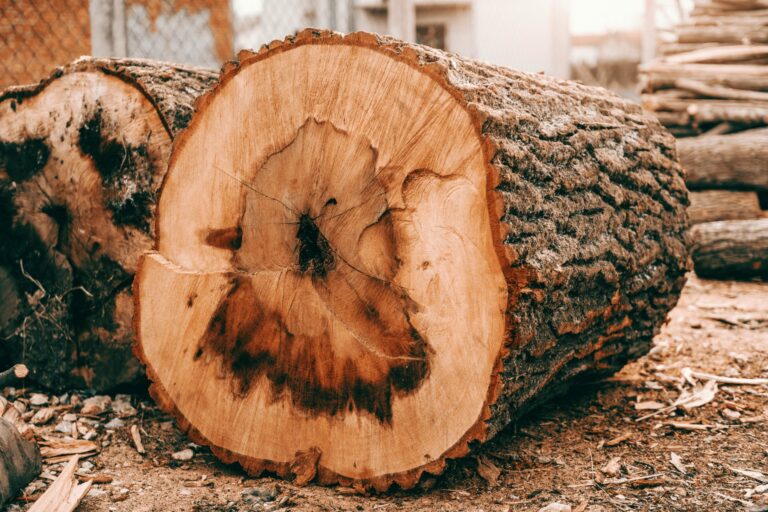
Burning the wood is one of the many ways to apply a finish on a wood-burning art piece to protect and preserve it. This technique is also known as Shou Sugi Ban or Yakisugi[1], which gives a unique and rustic appearance to the wood item. Shou Sugi Ban is a traditional Japanese technique practiced for centuries as a finish on wooden items.
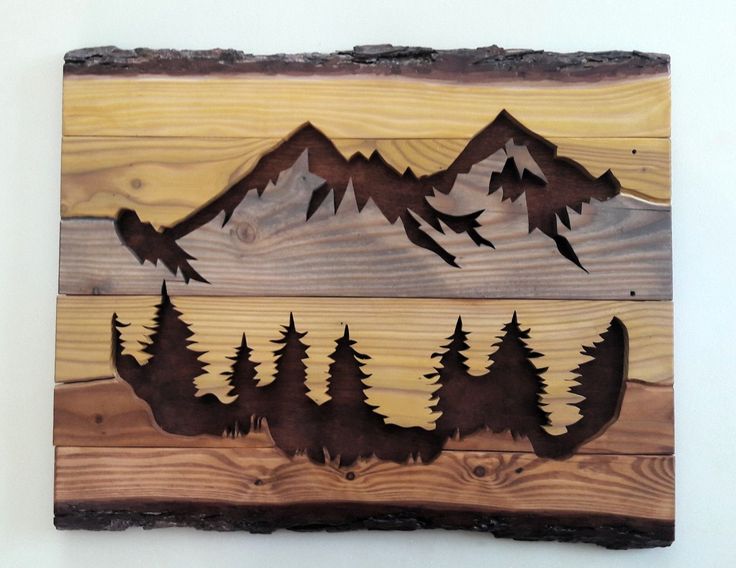
A burnt wood finish has many applications and can be practiced in a vast array of interior and exterior projects. If you want to give an old piece of wooden furniture a new look or want to add an aesthetic touch to your interiors, doing a burnt wood finish will add depth and character that any other finishing technique cannot obtain.
Today, the burnt wood technique is highly used by professionals in architecture and interior design. The method of Shou sugi ban or burnt wood finish has also gained popularity among individuals who like to do DIY projects. In addition to the traditional way, there are many modern ways in which you can apply this technique by adding colors and contrasting shades.
The central theme of the burnt wood technique is to obtain a black layer of carbon on the top surface of the wooden item by burning it. Traditionally, in japan, it was done by creating a triangle using three wooden planks to form a fireplace and then the fire was lit at the base of the chimney. The fire rises and burns the wood evenly, and it is brushed and wiped accordingly. This traditional way of doing this method is not easy and comfortable for a regular individual who does not have much experience. As a result, today, you can find an array of alternatives to this technique, especially the DIY burnt wood technique.
When doing a burnt wood finish, there are a few things that one needs to take into consideration.